
Remodels
Planning a Bathroom Plumbing Remodel: A Step-by-Step Guide
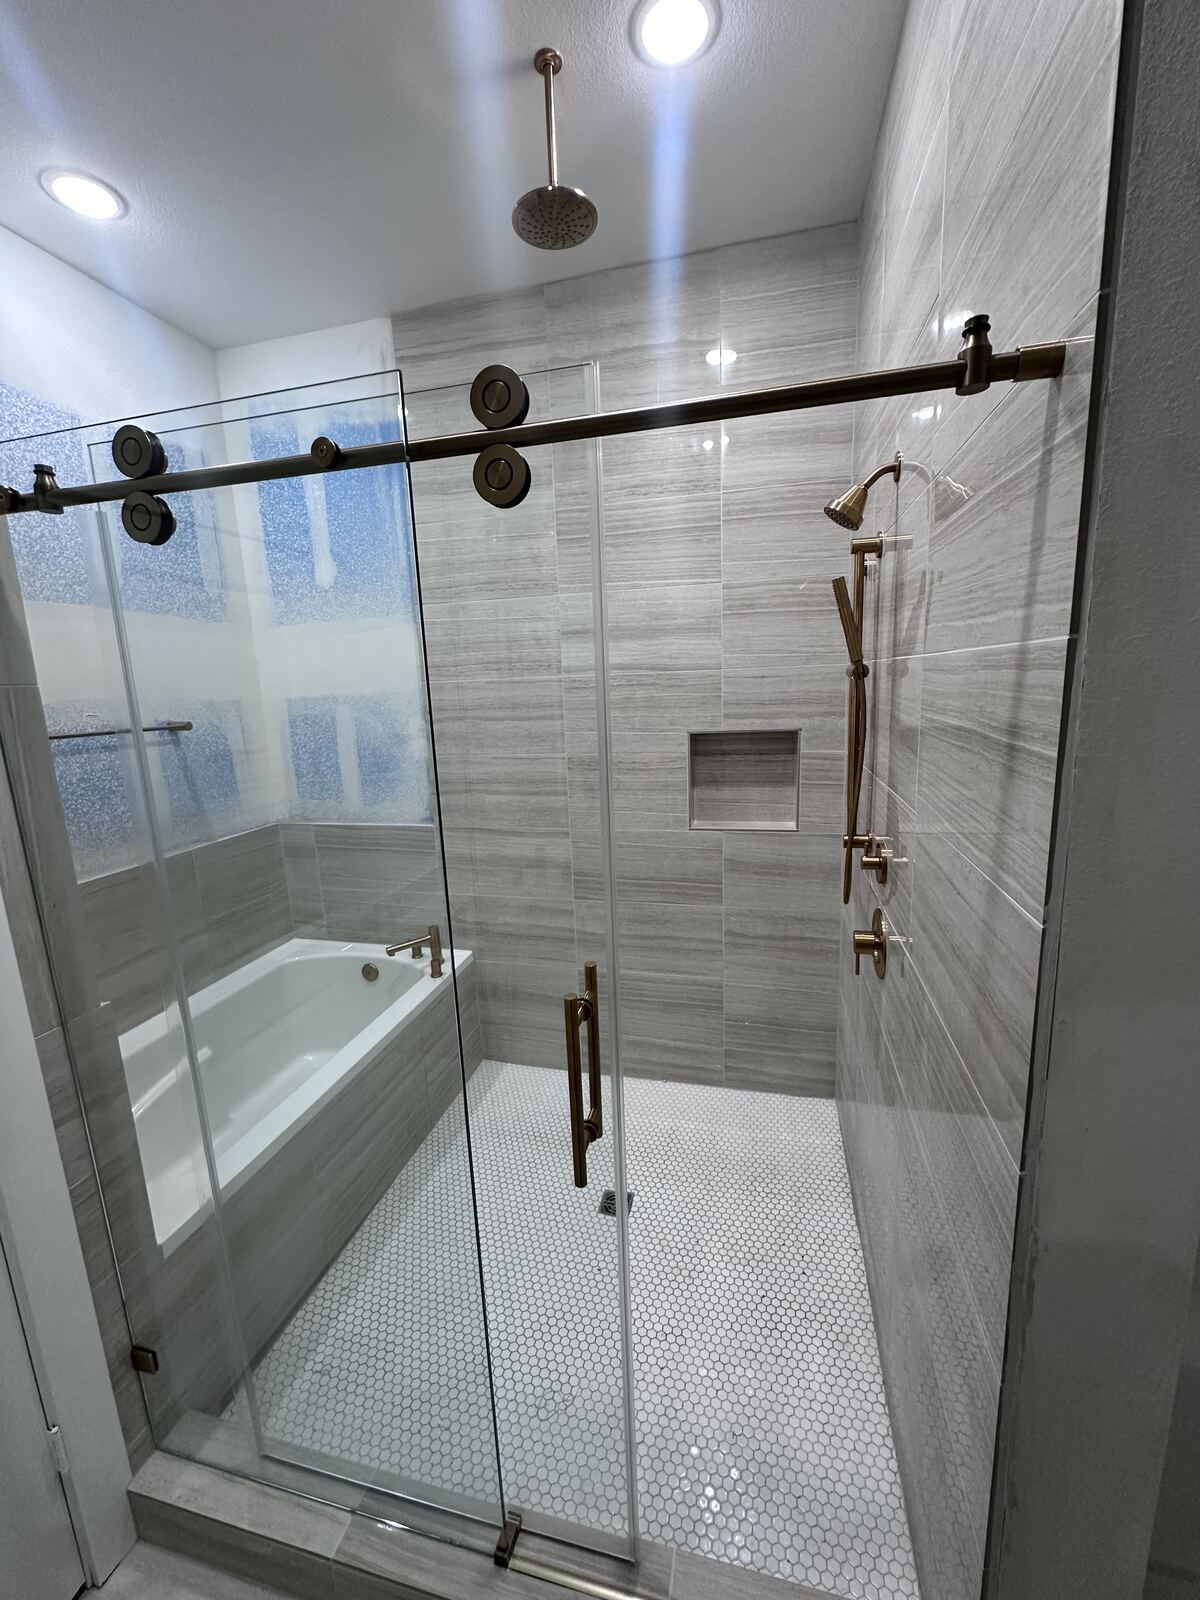
Most bathroom remodels run over budget. The most common reason isn’t the tile or the vanity — it’s plumbing surprises uncovered after demo. The good news: most of those surprises can be anticipated and planned for if you bring a plumber in early.
Here’s how a bathroom plumbing remodel actually goes, and what to plan for.
Phase 1: Design and decisions (before any work)
This is where most homeowners save or waste the most money.
Layout decisions. Where the toilet, sink, tub, and shower are located determines how much drain and supply line work is needed. Keeping fixtures in roughly their existing locations is dramatically cheaper than moving them. If you want to move a toilet to the other side of the bathroom, that’s a major drain line relocation — possibly opening the slab.
Fixture decisions. Pick fixtures during design, not after rough-in. Shower valves vary in installation depth and rough-in dimensions. Tubs vary in drain location. Toilets vary in rough-in distance. We need to know what you’re installing before we can rough it in correctly.
Upgrade decisions. A remodel is the right time to:
- Replace aging supply lines (galvanized → PEX or copper)
- Replace cast-iron drain lines if they’re showing age
- Add shut-off valves at every fixture if the originals are gummed up
- Add a recirculation pump for instant hot water
- Pre-plumb for a water softener or filtration system
Skip these now and you’ll pay much more to do them later when walls aren’t open.
Get a plumber involved. Bring us in during design, not after demo. We can flag layout decisions that affect cost or feasibility — sometimes a one-inch shift in a fixture location saves thousands in plumbing.
Phase 2: Demo
Demo always finds surprises. Walls come down and we see things that weren’t visible from outside:
- Old galvanized supply lines on the verge of failure
- Cast-iron drain lines with cracks or corrosion
- Improper venting from past DIY work
- Code violations that need to be brought current
- Mold or rot from past leaks
A good plumber tells you what they find before doing the work. We’ll quote any out-of-scope items so you can decide rather than discover the cost at the final invoice.
Phase 3: Rough-in
This is where the structural plumbing happens — supply lines, drain lines, vent lines, shower valves, tub set, toilet flange. All before drywall closes the walls.
What we do in rough-in:
- Run supply lines (PEX or copper) to each fixture location
- Run drain lines with correct slope and proper venting
- Set the shower valve at the right depth for your finished wall surface
- Install the tub and connect the drain
- Set the toilet flange at the right height for finished floor
- Install any in-wall accessories like body sprays or rain heads
Inspection. Before drywall closes, the city inspects the rough-in. We pull the permit and coordinate the inspection. Passing on the first visit is the goal — and the standard.
Phase 4: Drywall, tile, paint
This isn’t our work, but the timing matters. We coordinate with your contractor or tile installer so they have the access points they need.
A common decision point: shower waterproofing. We set the shower valve and rough drain; the waterproofing (Schluter, RedGard, or similar) is typically the tile installer’s responsibility. We make sure the plumbing penetrations are positioned correctly for the waterproofing.
Phase 5: Trim out (fixture install)
When everything’s painted, tiled, and finished, we come back to install:
- Toilet
- Sink and faucet
- Shower trim (handle, head, valve cover)
- Tub spout and overflow
- Vanity supply connections
- Drain pop-ups and overflow plates
We test every connection under pressure before walking away. Any drip, no matter how small, gets fixed before we leave.
Common decisions homeowners ask about
Curbless shower? Yes, but it requires careful drain placement, slope, and waterproofing coordination with the tile installer. We can do it.
Wall-mounted toilet? Significantly more complex than a floor-mounted toilet — requires a structural carrier in the wall and is harder to service later. Worth it if you love the look; otherwise floor-mounted is more practical.
Heated floors? Electric heat mats go under tile; we coordinate plumbing to leave clearance. Water-heated radiant is uncommon in bathroom remodels and adds significant complexity.
Multi-head shower? Plan flow rate carefully. A 6-head shower can demand more flow than your home’s supply line can provide. We size and plan for this during design.
Cost expectations
Bathroom plumbing cost varies widely depending on scope. A simple fixture swap is a few hundred dollars. A full rough-in for a renovated bathroom is several thousand dollars. A primary bath addition with new drain lines and fixtures can be more. We give written estimates after seeing the project.
The one thing that prevents most surprises
Bring the plumber in early. Before demo. Before fixture selection. Before the layout is finalized.
Most remodel surprises and overruns are plumbing surprises that could have been spotted in design. A 30-minute consultation before you commit to a layout saves more money than any single decision in the project.